

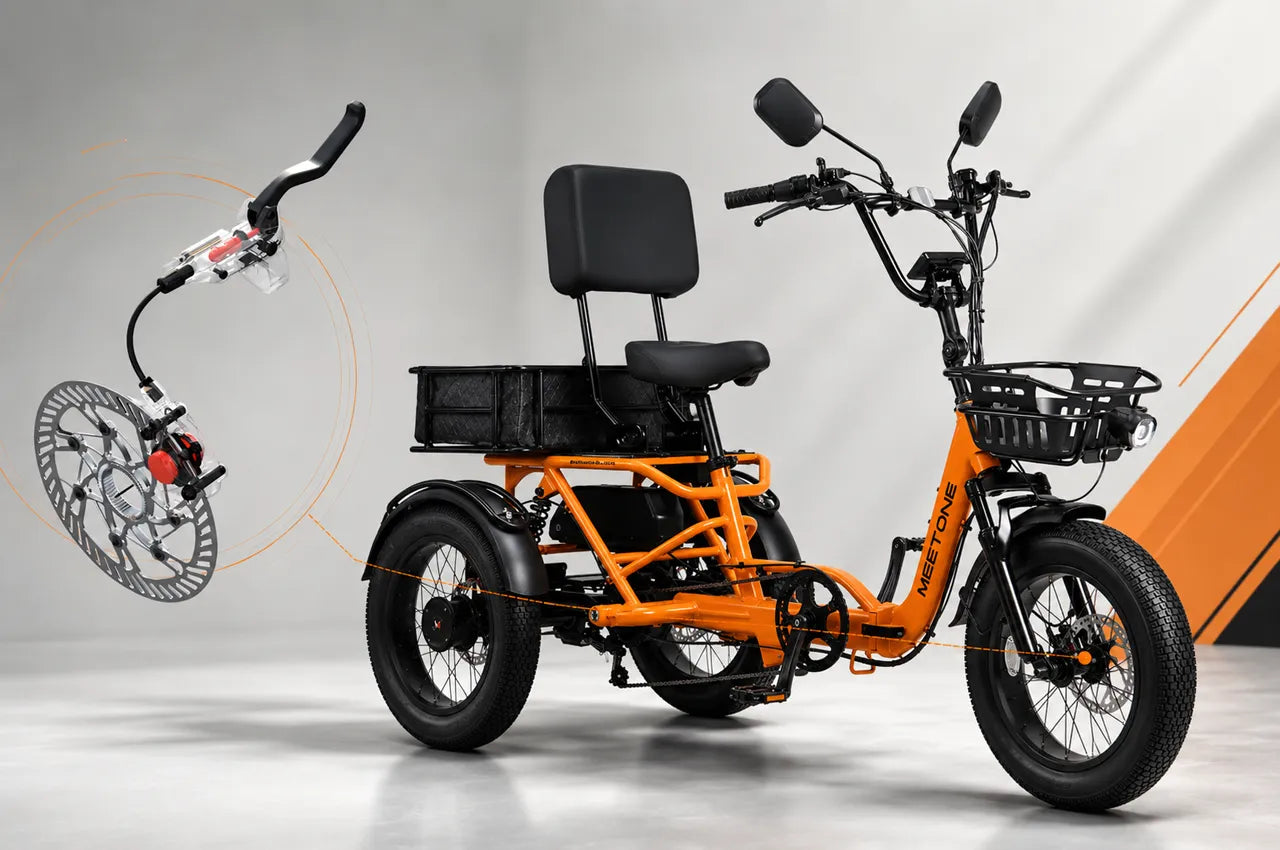
At Meet One Trike, we equip all our trikes with the Star Union Wuxing hydraulic disc brake system — chosen for its consistent stopping power and long-term reliability. Like any hydraulic system, it performs best with proper care. This guide walks you through how your brakes work, what can go wrong, and how to keep them performing safely ride after ride.
💡 How your hydraulic brakes work
Every Meet One Trike comes fitted with the Star Union Wuxing hydraulic disc brake system. When you squeeze the brake lever, it pushes mineral oil through a sealed line to a caliper at each wheel. The caliper squeezes brake pads against a metal rotor, slowing the wheel down.
The key word here is sealed. The system works because it's completely full of mineral oil — no air gaps. When air enters the line, the lever feels soft or spongy because you're compressing air (which squishes) instead of oil (which doesn't). This is called air in the brake line.
Mineral oil only. The Star Union Wuxing system requires mineral oil brake fluid. Never use DOT brake fluid — it will damage the seals and cause brake failure.
⚠️ Why do brakes suddenly stop working?
A brake that worked fine one day and fails the next is almost always caused by one of these four things:
The most common cause. Air enters through a loose fitting or low fluid level and blocks oil from reaching the caliper.
If the reservoir runs low, air gets drawn in. This can happen gradually over many months of riding.
Vibration from riding can slowly loosen the connection points where the brake line meets the lever or caliper.
A tiny crack in the brake hose — not always visible — can allow fluid to slowly seep out and air to enter.
🔎 How to tell if your brakes need attention
Before every ride, do a quick check. If you notice any of the following, do not ride — service your brakes first.
- The brake lever pulls all the way to the handlebar before engaging
- The lever feels soft, spongy, or inconsistent compared to usual
- Braking power feels noticeably weaker than before
- You notice oily residue near the caliper, lever, or along the brake hose
- One brake feels significantly different from the other
If your trike is showing any of these signs, the next section walks you through exactly what you need and how to fix it.
How to bleed (re-fill) your brake line
🔧 What you need before you start
Gather everything below before beginning. Do not start the procedure unless you have all of these on hand.
Use a bike stand if possible. Securing your trike on a stand keeps it stable throughout the process. If the trike falls mid-bleed, brake fluid can spill onto the pads and rotors — contaminating them and requiring replacement.
📋 Step-by-step brake bleed procedure
This procedure follows the official Star Union Wuxing guidelines. We've put it together here so you have everything in one place — follow each step in order.
-
1
Prepare the syringe and bleeding cup
Open your bleed kit. Load mineral oil into the syringe — make sure there are no air bubbles inside. Set up the bleeding cup separately. You will use the syringe at the caliper end and the bleeding cup at the lever end.
-
2
Position the lever higher than the caliper
This is critical. Air is lighter than fluid — it can only travel upward. With the lever reservoir at the top and the caliper at the bottom, air bubbles naturally rise out of the system. Loosen the lever bolt with your allen wrench and rotate the lever so the reservoir sits horizontal.
-
3
Remove the caliper from the bike
Loosen the caliper mounting bolts and remove it. This ensures the brake hose has no upward loops that could trap air bubbles. Do not disconnect the hose — just unmount the caliper body.
-
4
Remove the brake pads and insert the spacer
Loosen the pad retaining screw and slide the pads out. Do not touch the pad surface — natural oils from your hands will contaminate them. Insert the plastic spacer into the caliper to prevent the pistons from touching. Put your gloves on now.
-
5
Connect the syringe at the caliper bleed bolt
Loosen the bleed bolt on the caliper and connect the syringe. Tighten the connection firmly — any looseness will allow air to seep back in and undo your work.
-
6
Mount the bleeding cup at the lever
Remove the bleed bolt on the brake lever and mount the bleeding cup finger-tight. Pour a little mineral oil into the cup first, then remove the plug — this prevents air from entering as you open the system. Fill the cup but do not overfill. Check for bubbles in the bleeding cup line and flick them out if present.
-
7
Pull fresh fluid through the system
Pull back slowly on the syringe to draw fresh mineral oil up through the brake line from caliper to lever. Watch the color of the fluid — old or neglected fluid may look brown or even black. Keep drawing until the fluid runs clear. Never let the bleeding cup run empty or you will pull air back in.
-
8
Check for air bubbles and tap the line
Watch the syringe for bubbles as fluid passes through. If you see bubbles, gently tap along the brake hose to dislodge them. Do not proceed until the fluid is clear and bubble-free.
-
9
Final push-and-pull to clear remaining bubbles
Once the fluid runs clear, slowly press down on the syringe then pull it out again. This back-and-forth motion dislodges any last hidden bubbles. Repeat once or twice.
-
10
Seal the system — work bottom to top
Close the clamp, remove the syringe, and tighten the bleed bolt at the caliper. Then insert the plug back into the bleeding cup at the lever and tighten that bleed bolt too. Always seal bottom to top — the same direction air travels — to avoid introducing bubbles as you close up.
-
11
Clean all surfaces thoroughly
Wipe away every trace of brake fluid from the caliper, hose, and rotor area. Use alcohol cleaner to remove any residue. Even a small amount of fluid on the brake pads or rotor will contaminate them and significantly reduce braking power.
-
12
Reassemble and test
Reinstall the caliper, remove the spacer, and reinstall the brake pads. Adjust the lever angle back to your preferred position. Squeeze the lever firmly 10–15 times and verify it feels solid and engages well before reaching the handlebar.
Dispose of old fluid responsibly. Do not pour used brake fluid down the drain. Dispose of it according to your local hazardous waste regulations.
Watch the official Star Union Wuxing video tutorialWe've linked the manufacturer's official step-by-step video below so you can follow along with confidence. Watching it alongside this guide is the best way to get comfortable before attempting the bleed yourself.
📅 Routine maintenance schedule
🕑 Before every ride
- ✓ Squeeze both levers — firm feel, engages before reaching the handlebar
- ✓ Check for any oily residue along the hose or near the caliper
📅 Once a month
- ✓ Check mineral oil level at both lever reservoirs
- ✓ Check that all brake line fittings are snug
- ✓ Inspect brake pads for wear
🔄 Every 10–12 months (or more if you ride frequently)
- ✓ Full brake bleed following the procedure above
- ✓ Full inspection of hoses for kinks, cracks, or abrasion
- ✓ Replace brake pads if worn
❓ Common questions
When should you service your brakes?
Star Union Wuxing recommends changing your brake fluid every 10 to 12 months, or more frequently depending on how often you ride. Do not ride if your brakes feel different than expected — service them first. Watch for these warning signs: the lever pulls all the way to the handlebar before engaging, the lever feels soft or spongy, braking power feels weaker than usual, or you notice oily residue near the caliper, lever, or along the hose.
My rear brake still feels soft after bleeding. What should I do?
The rear brake hose is much longer than the front, giving air more places to hide — especially at bends. Try a second bleed focused on the rear, and tap along the hose while drawing fluid through. If softness returns after a few rides, have a professional inspect the caliper pistons and hose condition.
Why did my brakes fail suddenly after months of working fine?
Most sudden brake failures are caused by air entering the line through a loose fitting or a slow drop in fluid level over time. After completing a bleed, check all connection points for tightness and monitor lever feel over the next few rides. If the problem returns quickly, a fitting or the hose may need replacement.
Can I do this myself or do I need a professional?
With the right kit and this guide, most riders can bleed their own brakes. However, if you are unsure at any point, or if the brakes still feel wrong after a bleed, stop and take the trike to a professional. It is not worth guessing when it comes to brakes.
Where can I find more help?
Star Union Wuxing publishes troubleshooting guides and tutorial videos on their YouTube channel. You can also reach our support team directly — we're happy to help.
Still having brake issues? Contact usIf your brakes are still not performing correctly after following this guide, do not ride. Reach out to our support team and we will help you get sorted safely before your next ride.
Procedure based on the official Star Union Wuxing hydraulic disc brake maintenance video.



Share:
Introducing the Meet One Tour Lite 2.0 — The Smarter Way to Ride Further
Which Meet One 2.0 Electric Trike Is Right for You?